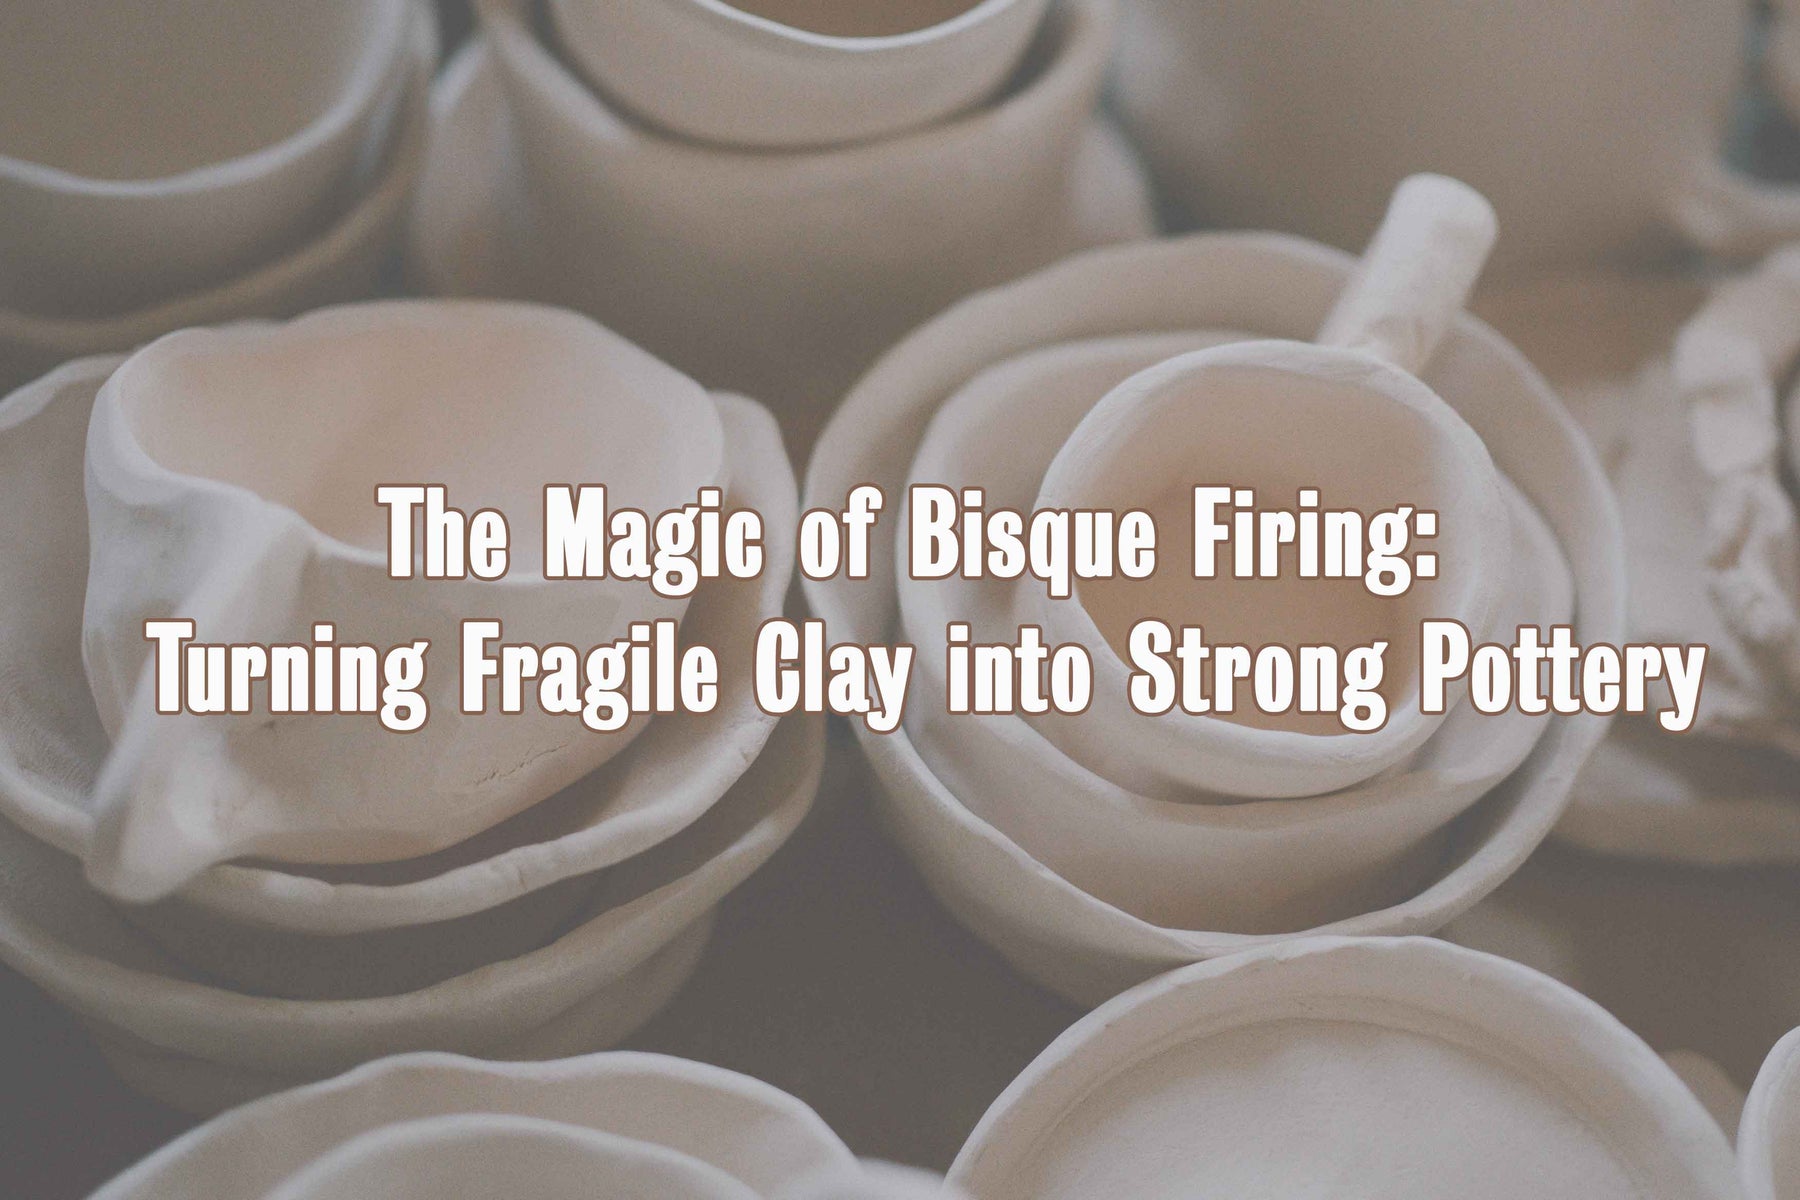
The Magic of Bisque Firing: Turning Fragile Clay into Strong Pottery
Let's talk bisque firing. I'm Ali, the owner of Modern Potters and a fellow potter. If you're anything like me, you've probably experienced the anxious (and exciting) wait during the first firing, hoping your pieces made it through their bisque firing journey intact.
I recently hand-built my friend’s dog, and his tail shot off into the kiln, only to be found on one of the bottom shelves! (The reason it broke off was most likely moisture in the body of clay. Luckily, the magic of the glaze firing was able to seal his tail intact.)
Bisque firing is that magical step that transforms fragile, delicate clay into a sturdy, glaze-ready canvas — and trust me, it's a must-know for any potter.

Whether you're just getting your hands dirty for the first time or looking to sharpen your firing skills, this guide is packed with practical tips and a bit of that hard-earned pottery wisdom. So, ready to dive in?
Let's get into the nitty-gritty!
What is Bisque Firing?
The Foundation of Pottery
Let's start with the basics—what is a bisque firing, anyway? In simple terms, it's the process of heating unfired clay (called greenware) in a kiln to temperatures usually between 1728°F to 1063°F (Cone 08–04).
This first firing transforms your delicate clay into a porous, hardened state known as bisqueware. Think of it as setting the groundwork for the magic that happens when you glaze and glaze fire.
🪄 Fun Fact: All pottery is ceramics, but not all ceramics are pottery!
Bisque pottery has this charming, matte, chalky surface that’s sturdy yet absorbent. It’s almost like a sponge ready to soak up all that gorgeous glaze you’ve painstakingly mixed.
Bisque Firing vs. Glaze Firing
Here's a quick breakdown:
-
Bisque Firing: Hardens your clay at moderate temperatures, creating a porous, absorbent surface for glaze.
-
Glaze Firing: Happens at higher temperatures, sealing in your glaze for that shiny, durable, and waterproof finish.
👉 Curious about which kiln is right for your pottery dreams? Check out our guide on the best kiln for home use.
The Science Behind Bisque Firing
When clay is heated, the physical and chemical changes are fascinating. The water locked inside the clay molecules evaporates slowly, while organic materials burn away, leaving a stable, hardened structure. These changes are irreversible—your clay has officially transitioned from greenware to bisqueware!

Why Bisque Firing is a Must for Every Potter
Setting the Stage for Glazing Success
Bisque firing is like prepping a canvas—without it, your glaze might not stick evenly or could even peel off. That thirsty, porous texture is what helps the glaze hold tight. Trust me, skipping bisque firing is like leaving your pottery's fate up to a coin toss and may even cause damage to the kiln!
Why Potters Love It:
-
Strengthens clay so you can handle it without panic
-
Burns off impurities for a clean, smooth finish
-
Boosts glaze adhesion for those jaw-dropping results
🌟 New to pottery? Learn the basics with our guide on how to start pottery at home.
Step-by-Step Bisque Firing:
| Step | Action | Key Tips |
|---|---|---|
| 1. Dry Your Clay | Make sure greenware is fully bone dry | Air-dry for several days; preheat at 200°F to avoid trapped moisture and kiln issues |
| 2. Load the Kiln | Stack greenware with care. Unlike a glaze firing, greenware can touch or be stacked. |
Use kiln shelves/stilts. Place heavier items at the bottom. Avoid overstacking—greenware is fragile! |
| 3. Fire It Up | Heat to 1063–1728°F | Ramp slowly: ~200°F per hour for 8–12 hours |
| 4. Cool & Unload | Allow kiln to cool naturally | Wait 12–24 hours before opening to avoid cracks. Digital kilns often have auto-cooling. |
🔍 Pro Tip: Before firing, feel your clay—if it's still cool to the touch, it's not dry yet! Wait until it’s bone-dry to fire it.
Creating a Bisque Firing Schedule
Setting up a firing schedule can help minimize issues like cracks and warping. Start with a slow preheat, gradually increasing to the target temperature. Rapid heating can be tempting, but slow and steady wins this race! As we know, pottery teaches loads of patience.
Loading Your Kiln for Bisque Firing
Loading your kiln correctly can make or break your bisque firing. Place large, heavier pieces on the bottom shelves and lighter, delicate ones higher up. Leave enough space for heat to circulate; cramming everything in might feel productive, but it's a recipe for uneven firing and heartbreak.

Troubleshooting Common Issues:
- Cracks: Likely due to trapped moisture, faulty attachments, and/or unevenness of walls. Make sure your clay is bone dry.
- Explosions: Usually caused by rapid heating and trapped moisture..
- Uneven Color: Can happen with poor airflow or uneven stacking.
If disaster strikes, don't give up! We've all had our share of "kiln casualties," and each mishap is a learning experience.
Choosing the Right Kiln and Tools for Bisque Firing
- Kilns: Electric kilns are great for beginners to advanced potters; The question of which kiln is right for you depends on the maximum temperature you need as well as what chamber size is right for your making. (i.e., how long will it take you to fill the kiln for a firing?)
- Essential Tools: Kiln shelves, stilts, pyrometric cones, pyrometer, gloves, and tongs.
👉 Need help choosing a kiln? Check out our best kiln for home use guide or take our Pottery Kiln Quiz to find the perfect match!
FAQs About Bisque Firing
What’s the right bisque firing temperature? Low-fire clay: 1728°F to 1063°F (Cone 08–04) High-fire clay: Up to Cone 6
How long does a bisque firing take? Typically, it’s an 8-12 hour firing followed by a 12-24 hour cool-down period. Patience is key!
Can you skip bisque firing? You can try single-firing (glazing without bisque), but it's risky. Cracks, glaze issues, and kiln damage are common.
What if I don't have a kiln? There are some community studios and pottery centers that rent kiln space. It's a great way to bisque fire without investing in a kiln!
Putting out the 🔥 : Bisque Firing for Pottery Greatness
Bisque firing is more than just a step—it's a rite of passage for your clay. It builds strength, clears away imperfections, and sets you up for glaze success. With a reliable kiln, the right temperature, and these tips, your pottery will shine!
🔥 Have a bisque-firing story, a mishap, or a triumph to share? Drop it in the comments—I’d love to hear it!
Email us at hello@modernpotters.com or give us a call to chat, 844-576-8837.
